
A No-Makeup Makeup Look: Techniques for Enhancing Without Masking
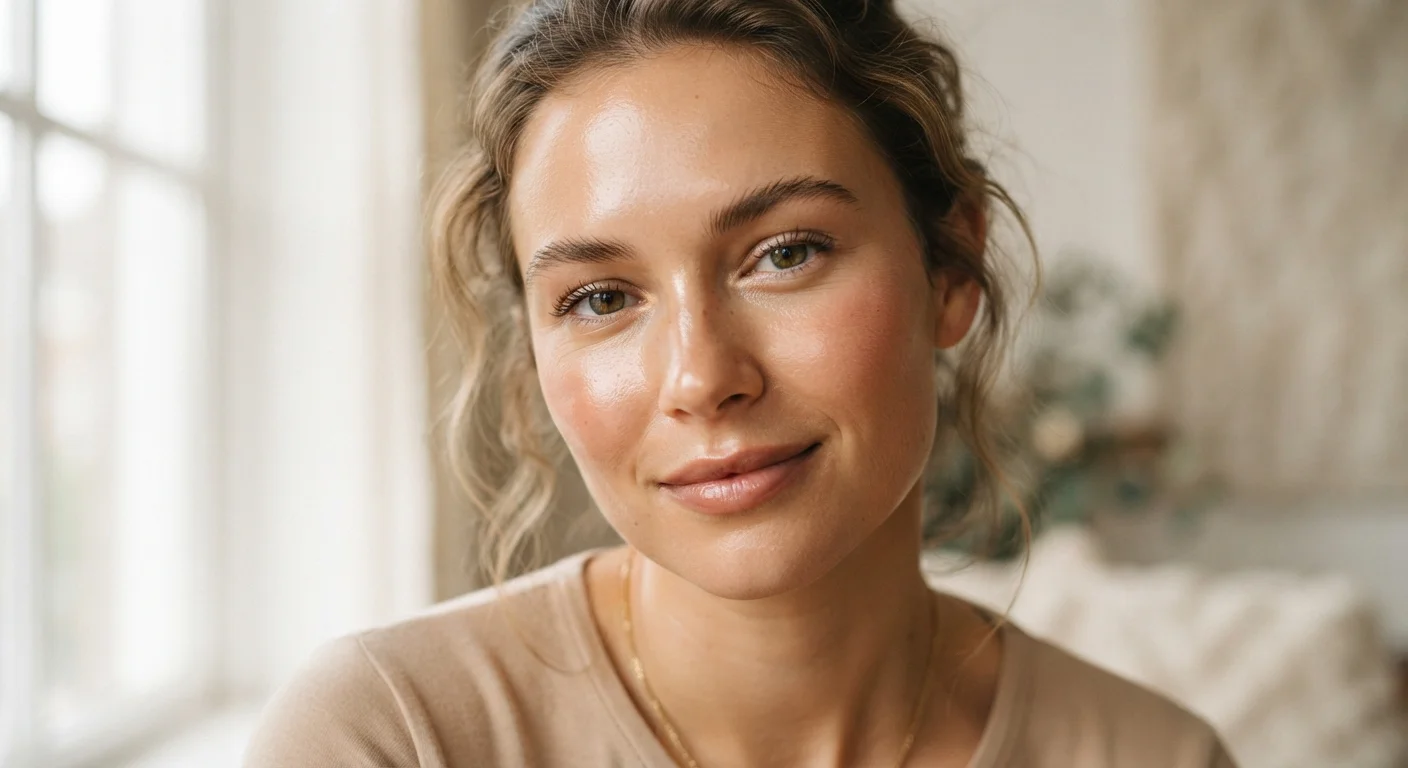
Photo credit: FindersGroove.com | Discover Important Information
Learn the principles behind a fresh-faced makeup approach that emphasises skin texture and natural features.
Key Takeaways
- Healthy, well-prepped skin is the foundation of every successful no-makeup makeup look.
- The goal is to even out and enhance - not to conceal or transform your natural features.
- Fewer, multi-use products applied with a light hand keep the look fresh and effortless.
- Color choices should mimic your skin's own undertones for the most convincing natural finish.
- Technique matters more than product quantity - blending thoroughly is non-negotiable.
Why Less Product Creates More Impact
The no-makeup makeup look has staying power precisely because it works with your features rather than over them. Instead of covering skin texture, it lets it show - and that's what makes it look fresh and genuine rather than done-up. The philosophy behind it is straightforward: use just enough product to even things out and add a bit of warmth and dimension, then stop.
This approach also has a practical upside. Because you're applying fewer layers, the look takes significantly less time, holds up well throughout the day, and is far easier to remove without damaging your skin barrier. For anyone building beauty habits around self-care rather than transformation, it's a genuinely sustainable place to start. If you're new to skincare entirely, building a skincare routine from scratch is the logical first step before adding any makeup layer.
Skin Prep Is Non-Negotiable
A no-makeup makeup look relies heavily on your skin's actual condition. Skipping moisturiser or applying product over dry, flaky skin will make even the lightest coverage look patchy and cakey. Invest time in your skincare routine before reaching for any makeup - see our guide to what each skincare step does if you're unsure where to start.
The techniques below focus on five simple steps that work for a wide range of skin tones, textures, and concerns. You don't need an extensive collection - just a few versatile products and some attention to blending.
Tinted Moisturiser or Skin Tint
Provides a sheer, skin-like wash of color that evens tone without masking texture.
Concealer (one shade up or matching skin)
Targeted coverage for specific spots or under-eye areas without full-face foundation.
Cream Blush
Adds a natural flush of color that blends seamlessly into skin for a healthy glow.
Clear or Tinted Brow Gel
Grooms brows into a neat, natural shape without adding heavy pigment.
Tinted Lip Balm
Delivers subtle lip color and hydration in one step, keeping lips looking natural.
Soft Makeup Sponge or Fingertips
Blends cream and liquid products into skin so there are no visible edges.
Mascara (brown or black-brown)
Opens up eyes subtly without the stark contrast of traditional black mascara.
Step-by-Step: Your No-Makeup Makeup Routine
Before you begin, make sure your skincare is fully absorbed and your tools are clean. Cold or damp skin can affect how products blend. You'll need the items listed above, good natural or balanced artificial light, and about ten to twenty minutes the first time through.
What you will need
Start with fully prepped, moisturised skin
Apply your regular skincare routine - cleanser, any serums, moisturiser, and SPF - and allow it to absorb fully before applying any makeup. This usually takes around five minutes. Well-hydrated skin lets light products sit smoothly rather than settling into dry patches. If your routine is still evolving, our guide to layering skincare products walks you through the right order so every product can absorb and work effectively.
Apply a sheer base with your fingertips
Dispense a small amount of tinted moisturiser or skin tint onto the back of your hand, then use your fingertips to press and blend it into the centre of your face, working outward. The warmth of your fingers helps the product melt into skin for the most natural finish. Focus on areas where redness or unevenness is most noticeable, and use a feather-light touch around the hairline, jaw, and ears to avoid visible edges.
Spot-conceal only where needed
Rather than applying concealer all over, identify one or two specific areas - a blemish, under-eye shadow, or visible redness - and use a small amount of concealer applied with your fingertip or a clean brush. Pat gently to blend the edges so it transitions seamlessly into the tinted base. Resist applying concealer to areas that don't genuinely need it; leaving natural variation in your skin tone is what keeps this look convincing.
Add a cream blush for a natural flush
Smile gently to find the apples of your cheeks, then dab a small amount of cream blush with your fingertip and blend upward toward the temples in a soft, circular motion. Cream formulas integrate with skin better than powders for this aesthetic. Choose a shade close to the natural color your cheeks turn when you've been outdoors or after light exercise - rosy-peach, soft berry, or warm terracotta depending on your undertone.
Groom brows with a clear or tinted gel
Brush brow hairs upward and then into their natural direction using a spoolie or tinted brow gel wand. The goal here is to define the brow's existing shape rather than draw in a new one. Filled, structured brows can look heavy against a bare-skin base - a natural, slightly brushed-up brow reads as polished without dominating the face.
Finish with a tinted lip balm and optional mascara
Apply a tinted lip balm directly from the bullet for a casual, natural lip color that adds definition without requiring precise application. If you want to open your eyes slightly, apply a single coat of brown or black-brown mascara to upper lashes only, wiggling the wand from root to tip. Skip lower lash mascara to avoid a heavy look. These final touches complete the look without tipping it into full-coverage territory.
Multi-Use Products Are Your Best Friend
A cream blush that doubles on your lips, or a tinted balm that works on both cheeks and eyelids, keeps your routine streamlined and your look cohesive. Fewer products also mean less chance of ingredients clashing or the look becoming overdone. For a deeper dive into paring back your collection thoughtfully, check out the pros and cons of simplifying your makeup bag.
Avoid the Mistake of Over-Correcting
The temptation with light-coverage products is to layer them repeatedly when coverage feels insufficient. Resist this urge - multiple thin layers of tinted moisturiser or concealer tend to crease, pill, and ultimately look more obvious than one well-placed, well-blended application. If one light layer isn't enough for your skin concern, consider addressing it through your skincare routine first.
Once you've finished, step back from the mirror and assess at a normal distance - not close up. The look should appear skin-like and healthy. If a single area looks noticeably different from the rest, blend that edge again. When you're done for the day, make sure you remove everything thoroughly; evening makeup removal is the step that protects all the skin prep you started with. For more ways to express your aesthetic through practical everyday choices, explore our personal style tips hub.

Author
Style & Beauty Editorial Team
Style & Beauty Editorial Team is the collective byline for our editorial team and contributor network. Articles published under this byline or an editorial pen name are researched, written, and reviewed according to our editorial standards for clarity, consistency, and independence before publication.
View all articles →